
Creating sublimation products (all other styles)
1) Log in to your LA Sublimation Portal
Use your credentials to access your account at www.sublimation.la
2) Go to Your Products Page
Once logged in, navigate to the "My Products" tab in your dashboard to start creating a new sublimation product.
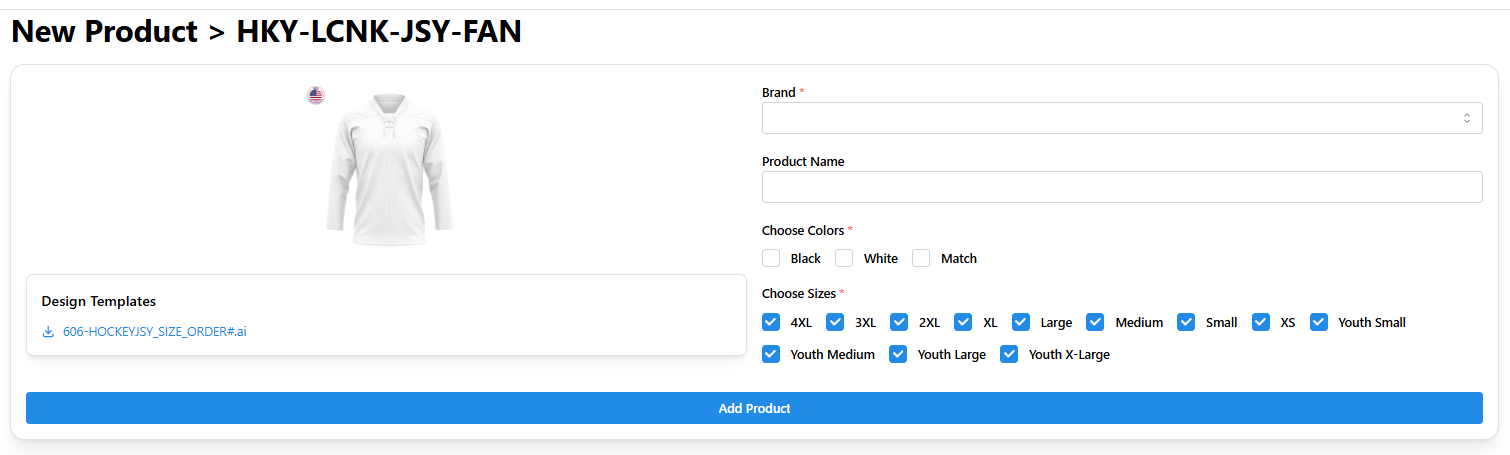
3) Start Creating Your New Sublimation Product
From your My Products page, click “Create New Sublimation Product.”
Next, select the style you'd like to design from the dropdown menu.
If the style you're looking for is not listed, please contact sales@sublimation.la to request it be added to your account.
Click “Download Template” to get the design file.
4) Use Adobe Illustrator to Place Your Artwork
Open the downloaded design template in Adobe Illustrator.
⚠️ Do not move or modify any existing panels, text, or layout elements.
The template includes layers for all available sizes, which you’ll see listed in the Layers panel. Don’t worry — you’ll only be working on one size layer at a time.
Start by selecting the largest size layer in the file. This will be the base for scaling down to smaller sizes later.
Arrange your artwork and apply clipping masks.
Position your artwork on each panel, then "Send to Back" to place it behind the template lines.
Next, create a clipping mask for each panel to ensure the artwork stays within the correct boundaries.
Once your design is in place for the selected size, crop any extra white space at the top and bottom of the artboard — but do not change the width of the artboard.
5) EXPORT DESIGN TEMPLATE
Turn off “INFO” layer.
Select File > Export > Export As…
Save as follows:
- Save As: Use the naming format ArtName-Size.jpg (Note: each size needs to be saved as a separate JPEG (jpg) file and must have the size at the end of the file name).
- Format: JPEG (jpg).
- Check “Use Artboards”.
- Click “Export”.
A new window will pop up and ask you for more save settings. Save as follows:
- Color Model: RGB (this saves the color as represented in the original artwork).
- Quality: 10 (Maximum).
- Compression Method: Baseline (Standard).
- D: Medium (150 ppi).
- E: Anti-alising: Type Optimized (Hinted).
- D: Leave “Embed ICC Profile” unchecked.
6) Repeat for All Desired Sizes
You have full control over which sizes you’d like to activate for your product. Simply repeat Steps 4 and 5 for each size you'd like to include.
7) Finalize Your Sublimation Product
Once your artwork is placed for all selected sizes, return to your LA Sublimation Portal and click “Next” to continue.
Tip: If you closed the window during the design process, no problem—just repeat Steps 1 and 2 to return to your product setup.
In the next screen, you can add your art name and select the sizes you want to make available for this product. By default, all sizes available for the styles you selected will be checked.
Click “Next”.
Upload Your Design Files
Now it’s time to upload your artwork files. Be sure each file is clearly labeled with the corresponding size at the end of the filename (e.g., YourDesign_L or YourDesign_XL).
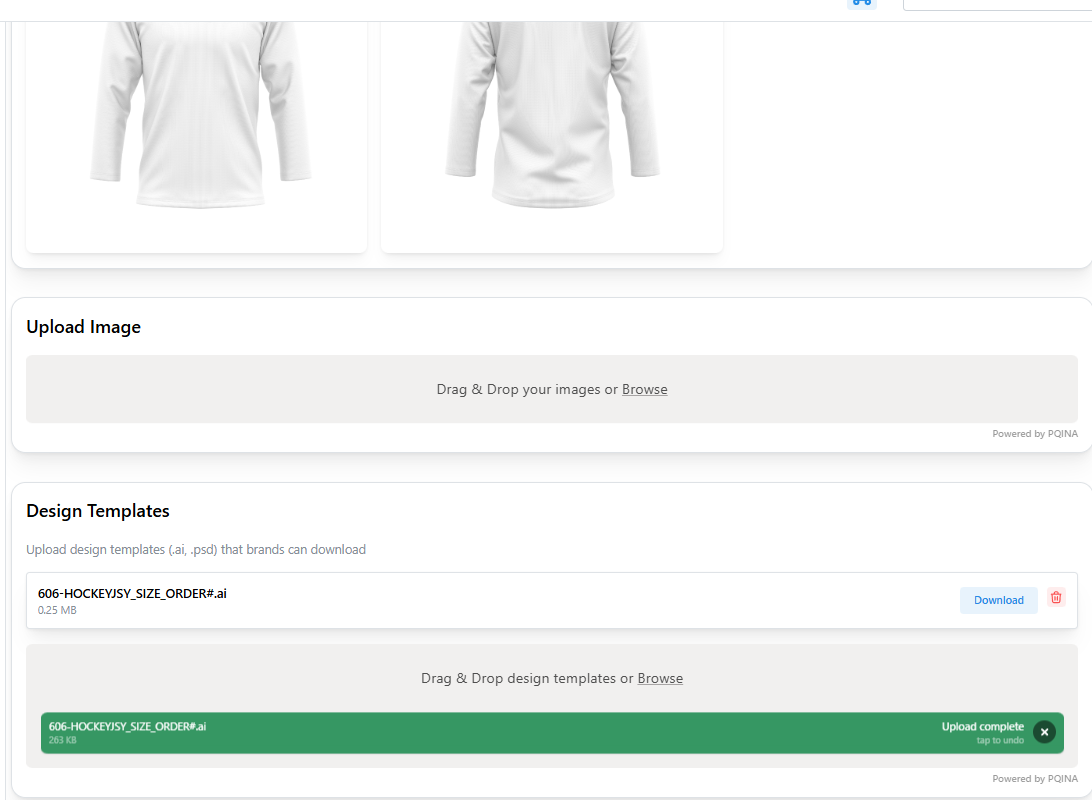
Tip: You can simply drag and drop your files into the upload area shown below for quick and easy uploading.
Your files will show under the “Files Added” section, as they are uploaded. Depending on your internet speed, it might take up to 30 minutes for your files to upload.
Click “Next”.
Connect Your Product to Shopify
If your store is integrated, you can now link your new product directly to Shopify by filling out the required product details and clicking “Create Shopify Product.”
If you prefer to handle this manually, click “Skip Adding Product to Shopify.”
To add your product manually:
-
Copy the SKU from your LA Sublimation Portal product page and paste it into the corresponding product variant on your Shopify listing.
-
Alternatively, use the “Export to Excel” feature in your Portal to download your SKUs in bulk, and then import them to your Shopify store.
You’ll find the full list of SKUs for each size under the Product Variants section shown below.
Finalizing Your Product
Once your product is complete, the product view will display the following:
- A preview of your uploaded design panel
-
The size templates that have been successfully uploaded
TIP: Sizes that upload correctly will appear in green at the top of the screen
-
A list of SKUs automatically generated for each enabled size
From this screen, you can:
- Export SKUs to an Excel file
- Re-upload artwork if changes are needed
-
Delete the product or create a new one
Need to make changes later? No problem — just go to the “Products” tab in your LA Sublimation Portal and click “View” next to the product you want to edit. You can add additional sizes or update artwork anytime.